

Call Us
+86-757-81208950
Email Us
zeng@foreverlighting.net

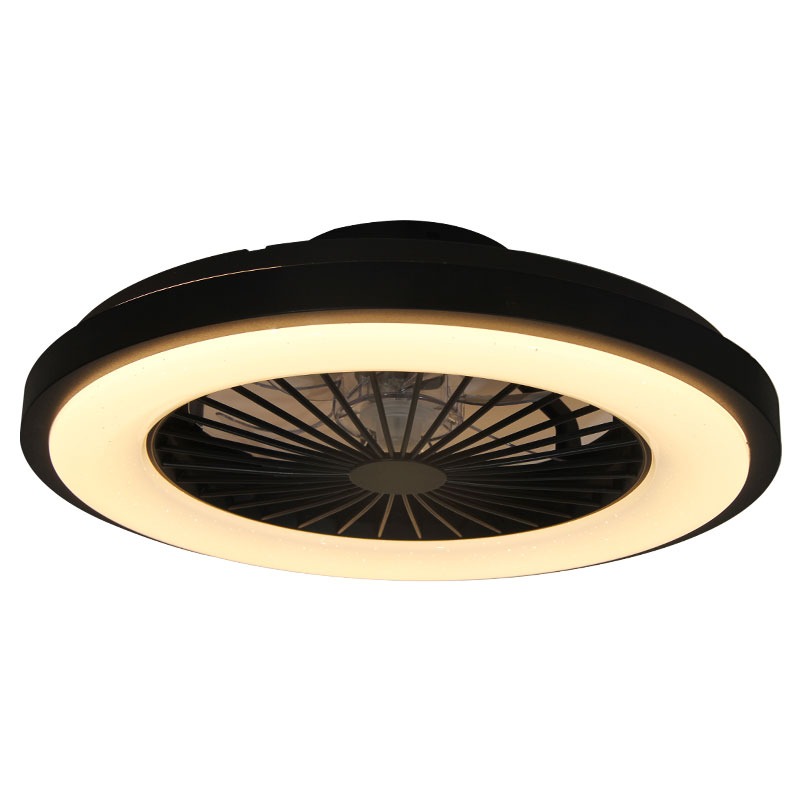
How to change the bulb of a ceiling fan light?
Replacing the bulb of a ceiling fan light requires certain steps and safety measures. First, make sure the power is turned off before operation to avoid the risk of electric shock. For ceiling fan lights, the wick part can usually be opened by rotating the lampshade. The specific steps are as follows:
1. Turn off the power
Before starting any repair or replacement work, be sure to turn off the power, either by pulling the switch or turning off the corresponding circuit switch.
2. Remove the lampshade
Turn the lampshade of the ceiling fan light counterclockwise, usually the lampshade is designed to be easily rotated and opened. If the lampshade is tightly fixed, you may need to use slight force.
3. Remove the old bulb
Once the lampshade is open, find the bulb and remove it. Note that the bulb may be fixed by a screw, just unscrew it directly.
4. Prepare a new bulb
According to the specifications of the ceiling fan light, choose the appropriate bulb type, such as an LED bulb, and make sure its power and interface are consistent with the original bulb.
5. Install the new bulb
Align the new bulb with the lamp holder and rotate it clockwise until it is fixed. Make sure the bulb is fully embedded in the lamp holder to avoid loosening.
6. Restore the lampshade
Turn the lampshade back to its original position and turn it clockwise until it is tight.
7. Inspection and use
Turn the power back on and check whether the new bulb is working properly.
If you encounter difficulties during the replacement process, such as the lampshade is difficult to open or the bulb is not firmly fixed, you may need to consider using appropriate tools such as a wrench or screwdriver, but be sure to do it under power off. If you are unsure of the operation, it is recommended to contact a professional electrician for replacement.
Send Inquiry


X
We use cookies to offer you a better browsing experience, analyze site traffic and personalize content. By using this site, you agree to our use of cookies.
Privacy Policy
News
 Advantages of ceiling fan lights2024/12/20
Ceiling fan lights are unique, with a novel appearance, unique beauty, and a strong modern style. They often have a good decorative effect when installed in the living room.
 The advantages of Anion Air Purification Lamp2024/10/26
Anion air purification lamps are designed to release negative ions into the air, which can combine with and remove harmful airborne pollutants such as dust, pollen, smoke, and bacteria. These negative ions can also help to neutralize odors, leaving your home or office smelling fresher and cleaner.